Checked: Oct 2026
Step one: plan, measure and check rules
Start with a sketch showing the enclosure, house connection, human-access door, and climbing spaces. Measure the available site and the window or door you intend to use. The Humane Society of Utah recommends planning before construction to help prevent costly mistakes.
Before ordering supplies, TWP Inc. recommends considering enclosure size, placement, your cat’s size, climate, potential predators, and desired features. Allow room for movement as well as vertical space for climbing and perching. Choose a location with both sun and shade, rather than fitting the enclosure into any unused corner.
Check with your city and association about applicable requirements before buying materials; renters should also check with their landlord before altering the property. Catio Spaces advises calling 811 before digging. If the project depends on attachments you cannot make, revise the location or design before proceeding.
- Record the available footprint and height.
- Mark the house connection and human-access door.
- Include mesh needed for tunnels or other additions.
Step two: build a level wood frame
Prepare the supporting surface before assembling the frame. Catio Spaces recommends a flat, level site and leveling garden or grassy locations before building. Complete deck or patio repairs, staining, or water treatment first, while the surface is still accessible.
The Humane Society of Utah recommends weather-, rot-, and insect-resistant lumber, including pressure-treated wood, cedar, or redwood. Use your chosen construction plan for member dimensions, cuts, and connections; these source recommendations do not provide a complete framing schedule. The same shelter recommends galvanized steel screws and rust-resistant fasteners.
Assemble the frame on the prepared surface and check that it remains level before attaching mesh. On a concrete patio that slopes away from the house, Catio Spaces recommends shims to keep the enclosure level. Leave the planned openings for house access and the human door, rather than cutting them into finished mesh later.
Step three: choose and secure the mesh
Catio Spaces recommends 16-gauge fencing wire with 2-inch by 3-inch openings, available at most home improvement stores. A lower gauge number means stronger wire, but opening size also matters. TWP Inc. says openings must prevent your cat from escaping, so do not assume a general recommendation suits every cat.
Smaller openings are an option when the cat or location calls for them. Catio Spaces lists galvanized hardware cloth with 1/2-inch by 1/2-inch openings, noting that it costs more and limits the view. Account for the additional cutting involved with a smaller grid.
For this approach, use galvanized wire rather than vinyl-coated wire. Catio Spaces recommends galvanizing for rust protection and warns that vinyl coatings can split or deteriorate under UV exposure. The Catio Company lists coated options, so the sources differ; this guide follows Catio Spaces’ advice on coating.
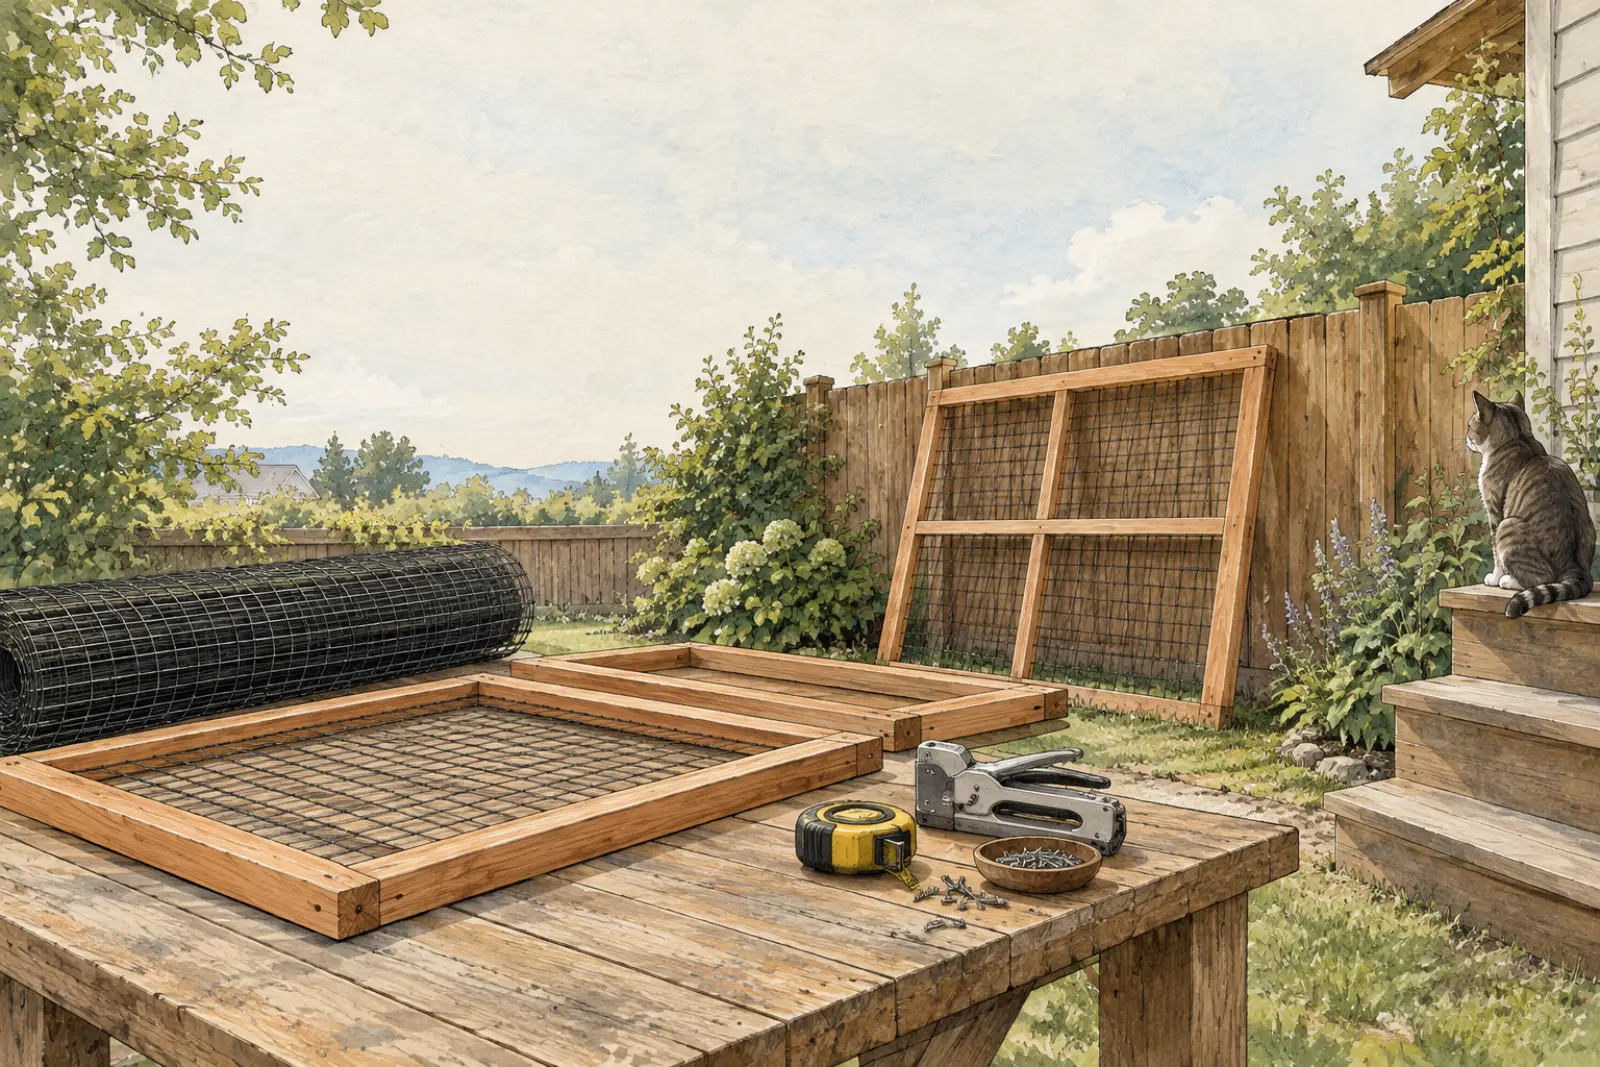
Measure each frame opening, roll out the mesh, and cut it with flush-cut pliers, leaving enough edge material for full coverage. Cut flush to the welded grid line, then secure the mesh tightly with a professional stapler or fence staples. The Catio Company recommends 1x2 wood strips over mesh edges to help prevent loosening; Catio Spaces also recommends wood trim over sharp ends.
Step four: secure doors and house access
Provide a secure door for human access so you can reach the enclosure without removing mesh. The Humane Society of Utah recommends heavy-duty hinges and latches. Check the door perimeter as carefully as the fixed panels, looking for gaps and loose material.
Plan your cat’s route from the house as part of the enclosure, not as an afterthought. Catio Spaces identifies cat-door options for window pass-throughs and sliding doors. If the enclosure sits away from the house, a cat tunnel can connect it.
Catio Spaces warns that carrying your cat between the house and catio creates an additional escape risk. A connected cat door avoids that transfer, but the surrounding opening and any tunnel still need inspection. Before allowing access, close and latch the human door and check the entire route for escape gaps.
Step five: add roof and floor
Choose the roof during planning so your frame design accounts for it. The Humane Society of Utah suggests polycarbonate panels or corrugated metal for weather protection. Follow your construction plan for roof support and attachment rather than treating a material recommendation as a complete roof design.
Catio Spaces notes that transparent polycarbonate panels or a wire grid ceiling let sunlight into the enclosure. A mesh ceiling is not the same as a weather-covering roof; TWP Inc. advises considering precipitation and sun exposure when there is no solid roof. Include shade rather than relying entirely on a sunny roof or location.
For flooring, the Humane Society of Utah suggests pavers or decking. Catio Spaces identifies an existing deck or concrete patio as a dig-proof foundation. On soil, address the perimeter as well as the walking surface so digging does not create a route beneath the frame.
- Catio Spaces suggests concrete pavers around the perimeter or inside.
- Alternatively, extend wire outward at a 90-degree angle, staple it to the ground frame, and bury it beneath soil or sod.
Step six: furnish and inspect the enclosure
Add ledges and perching spaces that suit your cat rather than filling every available wall. The Humane Society of Utah notes that energetic cats may enjoy climbing features, while older or shy cats may prefer low or enclosed spaces. Preserve room for movement when arranging shelves and other features.
Provide shaded resting places as well as sunny ones. Catio Spaces suggests shade cloth, an awning, or a sheltering bench. Leave plants out until you have verified that each one is safe for cats; the supplied construction sources do not identify suitable plant species.
Complete the safety inspection before opening the house connection. The Catio Company recommends checking for gaps, loose areas, tight mesh, and escape routes after installation. The Humane Society of Utah also advises reinforcing vulnerable areas, especially where wildlife is a concern.
- Cover exposed sharp wire ends with wood trim.
- Inspect mesh edges, doors, and the house connection.
- Check the ground perimeter for digging routes.
Mistakes to avoid during the build
Do not substitute ordinary screening for enclosure wire just because its openings are small. Catio Spaces warns that porch screening is easy for persistent cats and wildlife to breach, and window-screen mesh cannot withstand a cat’s claws. It also warns that chicken wire is weak, may rust, and can leave jagged cut edges.
Do not assume a level enclosure will stay level indefinitely. Catio Spaces explains that growing tree roots and frost-heaved stones can lift parts of the structure, creating gaps and stressing joints. Recheck the base and connections as conditions change.
Avoid finishing materials that introduce a chewing hazard. Catio Spaces warns that artificial turf edges can fray and attract a nibbling cat, while deteriorating vinyl wire coatings can also create a choking hazard. A tidy appearance is not a substitute for sound materials and secure attachment.
Questions people ask
What wood should you use to build a catio?
The Humane Society of Utah recommends weather-, rot-, and insect-resistant lumber, including pressure-treated wood, cedar, or redwood. Use a construction plan to determine the framing dimensions and connections; the material recommendation alone is not a cut list.
What mesh should you use for a catio?
Catio Spaces recommends galvanized 16-gauge fencing wire with 2-inch by 3-inch openings. Choose smaller openings when needed for your cat or location, and cover sharp cut ends with wood trim.
Can you use chicken wire for a catio?
Catio Spaces advises against chicken wire because it is not very strong, may rust, and can leave jagged edges when cut. It also bends and stretches easily, making it a poor substitute for durable enclosure mesh.
Does a catio need a floor?
The base needs to address digging as well as provide a usable surface. Catio Spaces identifies decks and concrete patios as dig-proof foundations, and suggests concrete pavers or buried outward-facing perimeter wire for other sites.
Sources
Facts, prices and rules on this page come from these pages, read on October 9, 2026. Sellers change prices and plans often; check the source before you buy.
- Catio Spaces (catiospaces.com)
- 8 Catio Building Mistakes to Avoid — Catio Spaces (catiospaces.com)
- The Catio Company — What wire mesh should I use for a catio? (thecatiocompany.com)
- Things to Consider When Building a Catio with Wire Mesh (twpinc.com)
- How to Build Your Own Catio: A Step-by-Step Guide for Beginners (utahhumane.org)